
If your robot vacuum’s wheel is not working, the most likely cause is a stuck or damaged wheel. This is a common issue that can often be fixed with a few simple steps. As the Senior Robotics Technician at SmartVacFix.com, I’ll guide you through the diagnostic process and provide clear repair instructions to get your robot vacuum back in working order.
⚙️ SmartVacFix™ Diagnostic Triage
Primary Symptom: The robot vacuum’s wheel is not turning or spinning freely, causing the device to move erratically or get stuck in one spot.
Tools & Parts Required: Phillips #1 screwdriver, can of compressed air, and potentially an OEM replacement wheel if the existing one is damaged.
Repair vs. Replace: In most cases, this issue can be resolved by cleaning and resetting the wheel. If the wheel is physically damaged, a replacement part may be required.
Safety Warning: Always power off the robot vacuum and remove it from the charging dock before attempting any repairs or maintenance.
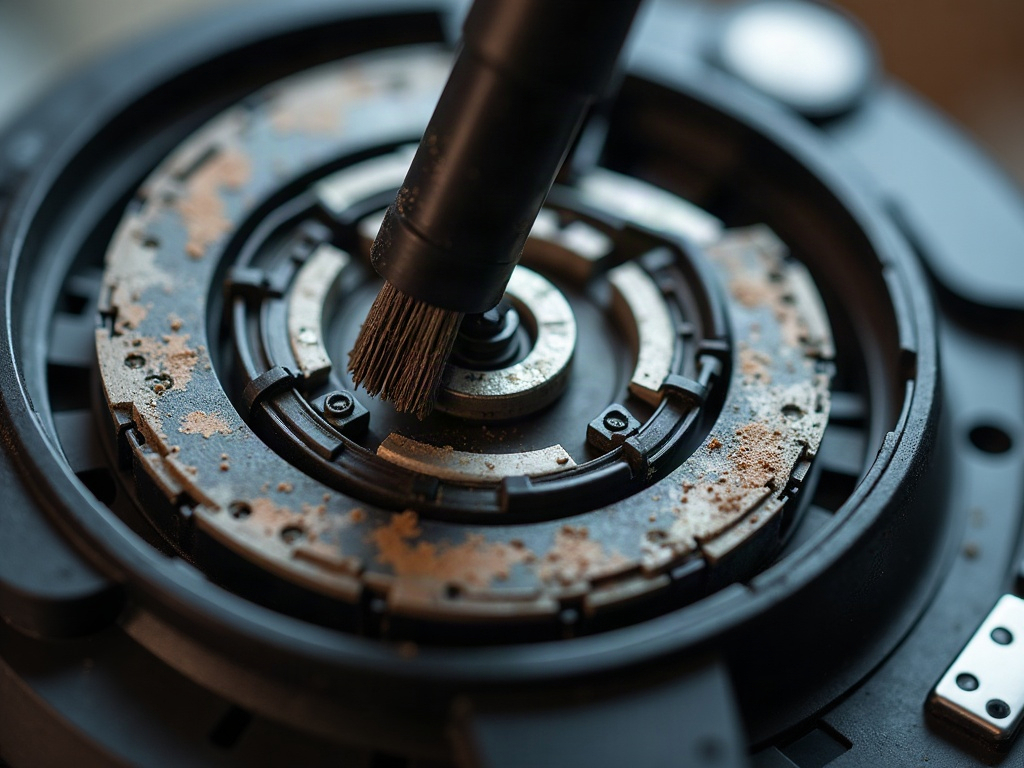
Why Is My Robot Vacuum Wheel Not Working?
The most common reasons for a robot vacuum’s wheel not working include:
- Debris or hair buildup around the wheel, preventing it from turning freely
- A stuck or jammed wheel bearing or axle
- A faulty wheel motor or drive train component
- Damage to the wheel itself, such as a cracked or broken wheel
How to Fix a Robot Vacuum Wheel That’s Not Working
Follow these steps to diagnose and repair a robot vacuum wheel that’s not functioning properly:
- Power off the robot vacuum and remove it from the charging dock.
- Flip the robot vacuum over and locate the wheel that is not working.
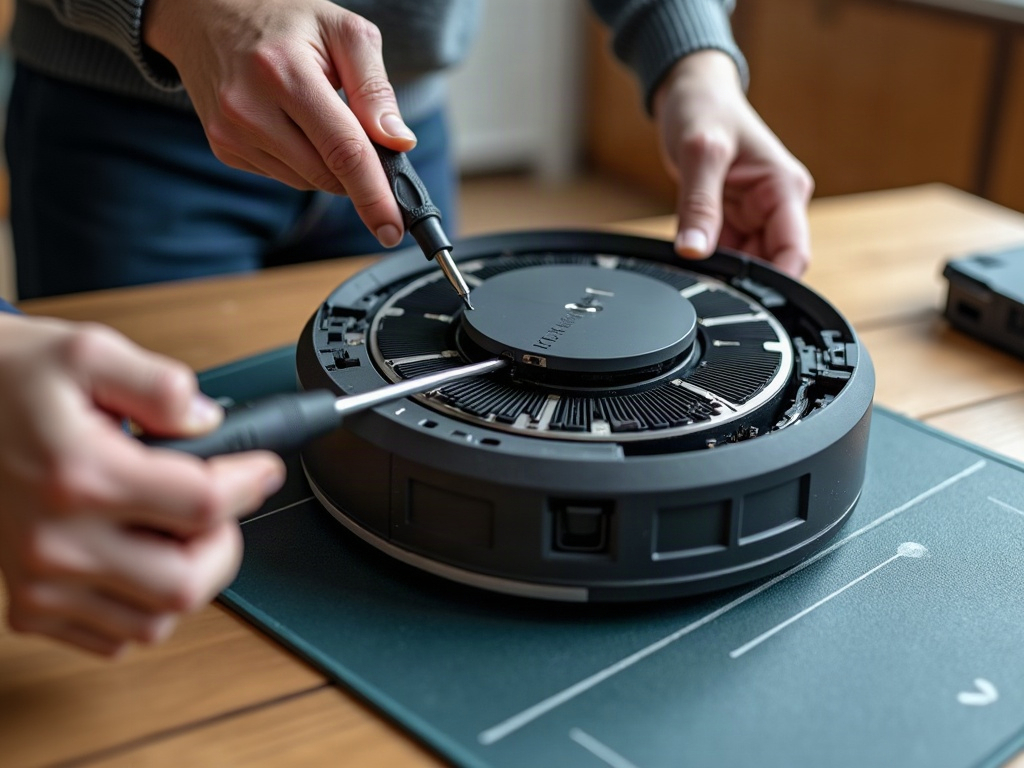
- Use a Phillips #1 screwdriver to remove the bottom plate or access panel to expose the internal components.
- Inspect the wheel for any visible debris, hair, or obstructions. Use a can of compressed air to blow out any accumulated dirt or dust.
- Check the wheel bearing and axle to ensure they are not stuck or jammed. Gently try to spin the wheel by hand to see if it moves freely.
- If the wheel is still not functioning, you may need to replace the wheel or the wheel motor. Consult your robot vacuum’s user manual or contact the manufacturer for specific part replacement instructions.
Differences by Brand and Model
The specific repair process may vary slightly depending on the brand and model of your robot vacuum:
| Brand | Wheel Removal Process | Replacement Part |
|---|---|---|
| Roomba | Requires removing 2-3 screws to access the wheel assembly | Roomba OEM replacement wheel kit |
| Roborock | Wheel can be accessed by removing a single screw | Roborock OEM replacement wheel |
| Shark | Wheel is part of a larger drive train module that may need to be replaced | Shark OEM drive train module |
Always refer to your robot vacuum’s user manual or contact the manufacturer for the specific repair steps and replacement part details for your model.
Frequently Asked Questions
Will replacing the wheel void my robot vacuum’s warranty?
Replacing a faulty wheel on your robot vacuum typically will not void the warranty, as long as you use the correct OEM replacement part and follow the manufacturer’s instructions. However, it’s always best to check with the manufacturer to confirm their specific warranty policies.
Can I use an aftermarket wheel instead of an OEM part?
While aftermarket replacement wheels may be available, it’s generally recommended to use the OEM (original equipment manufacturer) replacement part for your specific robot vacuum model. OEM parts are designed to fit and function properly with your device, ensuring optimal performance and compatibility.
How often should I clean or maintain the wheels on my robot vacuum?
Most manufacturers recommend cleaning the wheels on your robot vacuum every 1-2 weeks, or whenever you notice a buildup of debris or hair. Regular maintenance will help ensure the wheels continue to function properly and extend the life of your robot vacuum.